
Collection: Décor Transfers
TRANSFORM ANY SURFACE WITH A SINGLE TRANSFER
ReDesign with Prima Décor Transfers is one of the easiest ways to add stunning, handcrafted details to furniture, walls, and home décor—no special skills required. Simply peel, apply, and reveal something beautiful. Whether you’re refreshing a dresser, adding drama to a cabinet, or putting the finishing touches on a DIY project, there's a transfer design that’s perfect for your creation.
Hundreds of designs featuring botanicals, vintage motifs, modern graphics, and bold statement art
Works beautifully on wood, metal, glass, canvas, fabric, and more
Repositionable and easy to trim, allowing you to customize the fit for any surface
Pairs perfectly with Fusion Mineral Paint for a seamless finished look
NOT SURE WHICH SIZE TO CHOOSE?
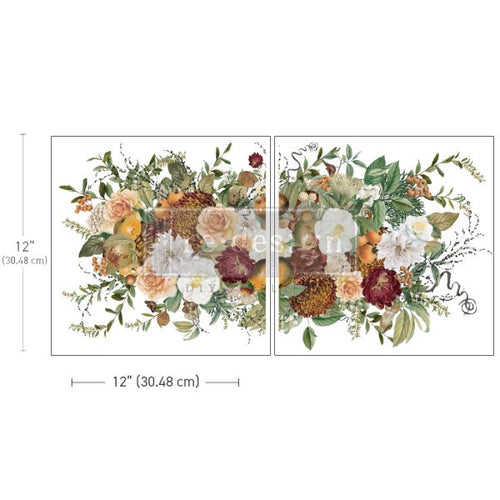
We offer two sizes of Décor Transfers, both more versatile than you might think. Standard Décor Transfers come on larger sheets with multi-element designs, ideal for furniture pieces, cabinet fronts, accent walls, and anywhere you want to make a bold statement (approximately $13-$44). Small Transfers feature individual elements or simpler designs on smaller sheets—perfect for petite furniture, accessories, trays, or adding delicate accents around drawer hardware (approximately $8-$18). The best part? You don’t have to use the whole sheet—both sizes can be trimmed and applied in pieces, so one transfer can go a long way.
Our Décor Transfers come in two varieties—rub-on and H2O (water-activated)—and each one applies a bit differently. Before you start, check which type you have so you can follow the correct guide below.
HOW TO APPLY YOUR TRANSFER
Rub-On Transfer
1. Prep your surface. Ensure your surface is clean, dry, and free of wax or heavy sealers. A quick wipe-down is usually sufficient. If you’re working over fresh paint, let it cure completely first to help the transfer adhere and release cleanly.
2. Position and rub. Place your transfer where you want it and use a craft stick or the included applicator to rub firmly over the entire design. Apply consistent pressure—you'll feel the transfer bonding to the surface as you work. This is the satisfying part.
3. Peel and reveal. Slowly peel back the transfer backing at a shallow angle, checking as you go to ensure the design releases cleanly. If any part lifts, lay the backing back down and rub a little more. Then step back and admire your creation.
H2O Transfer
1. Prep your surface. Like with any transfer, start with a clean, dry, and fully cured surface. A smooth, paint-ready surface provides the best adhesion and results.
2. Wet and position. Wet the back of the transfer (or lightly mist your surface—check your specific product for guidance) and position it in place. The water provides some working time, allowing you to slide the design around and get it exactly where you want it, which is especially helpful around hardware or tricky curves.
3. Smooth, dry, and reveal. Use the H2O Transfer Scraper Tool (available in the shop!) to smooth the design and work out any air bubbles. Let it dry completely, then peel away the backing to reveal your finished design. The scraper is a small tool that makes a big difference—we recommend getting one.
FINISH IT RIGHT
Once your transfer is applied, using a sealer will protect the design and extend the lifespan of your project—particularly for pieces that see everyday use. Explore our Finishing Touches collection for wax pastes, clear topcoats, and other options to give your piece a beautiful, durable final layer. A little protection goes a long way in keeping your work looking its best for years to come.
Visit our ReDesign with Prima How-To Library for technique tutorials.
Manufactured by ReDesign with Prima
-
Among the Wildflowers - Transfer
![]()

- Regular price
- $8.00
- Sale price
- $8.00
- Regular price
-
- Unit price
- per
Sold out -
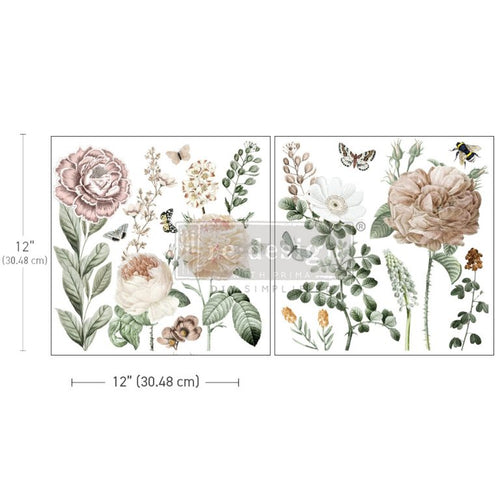
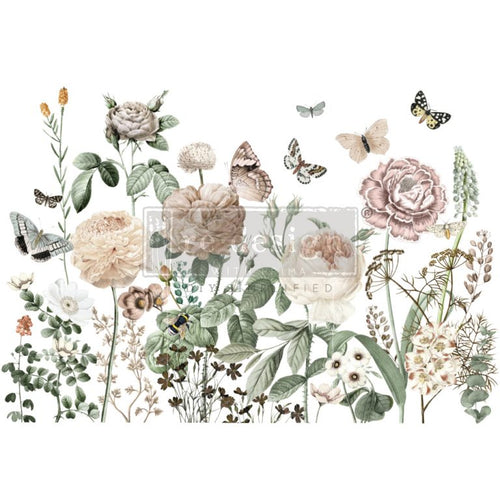
An Afternoon In The Garden
![ReDesign with Prima An Afternoon In The Garden transfers for furniture home decor projects and DIY craft projects]()
- Regular price
- $18.00
- Sale price
- $18.00
- Regular price
-
- Unit price
- per
Sold out














- Page 1 of 17
- Next page