
Collection: Decor Moulds & Castings
CAST YOUR OWN CUSTOM EMBELLISHMENTS
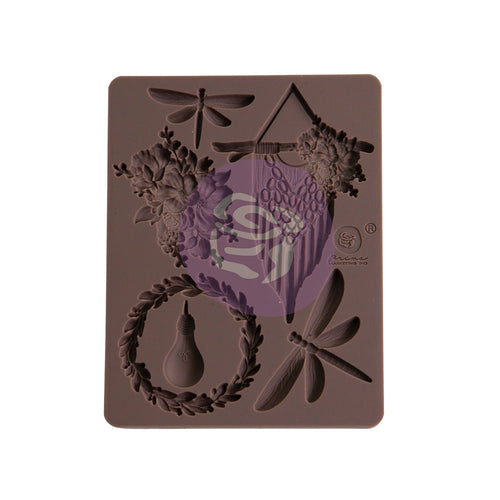
ReDesign with Prima Decor Moulds lets you easily create unique embellishments that transform furniture and decor. No artistic skills are needed! These flexible silicone moulds come in various designs and can be used with Amazing Casting Resin, chalk paste, or air-dry clay. Once cast, you can paint, wax, or gild them and mix with ReDesign Decor Transfers and appliques for added effects.
HOW TO CHOOSE YOUR MOULD
Not sure where to start? Here's how to think about it:
ReDesign with Prima Decor Moulds allows you to create unique embellishments for furniture and decor effortlessly, without needing artistic skills. These flexible silicone moulds come in various designs and can be used with Amazing Casting Resin, chalk paste, or air-dry clay. Once cast, you can paint or gild them and combine them with ReDesign Decor Transfers for added effects.
Match the design to your style: ornate scrolls suit traditional looks, florals are great for cottage themes, and geometric designs add a modern touch. Choose your casting material based on your desired look: resin offers crisp detail and durability, chalk paste provides a soft texture, and air-dry clay is easy to work with for a handmade feel.
WHAT YOU'LL NEED
Everything you need for casting:
- Release agent: Don’t skip this step! A thin coat before filling prevents sticking and tearing.
- Choose your medium: Select from resin, chalk paste, or air-dry clay to get your desired look.
- Amazing Casting Resin: Our best seller captures detail, cures strong, and finishes beautifully.
- ReDesign Casting Mix: A complete starter kit for hassle-free crafting.
- Sanding: Use sandpaper for quick smoothing of edges after curing.
- Adhesive: Use a gel medium or strong craft adhesive to bond castings once fully cured.
- Coloring: Use Fusion Paint and enhance with Finishing Touches—waxes, glazes, gilding—for depth and finish.
HOW TO USE YOUR MOULD
Step 1 — Apply a thin coat of release agent to the mold and let it sit briefly to prevent sticking.
Step 2 — Fill and press your casting medium as instructed (resin, chalk paste, or air-dry clay) and let it cure or dry completely.
Step 3 — Release your casting by flexing the mold, sand any rough edges, and finish with paint or adhesive as desired. Admire your creation!
Remember, each casting gets easier.
Visit our ReDesign with Prima How-To Library for technique tutorials.
Manufactured by ReDesign with Prima




- Page 1 of 9
- Next page